Skip to content
Menu
Search
New
Cooking Appliances
Ovens
Sous Vide Combi Steam Oven
Pro Plus 2 Oven
Pro-Smart Oven
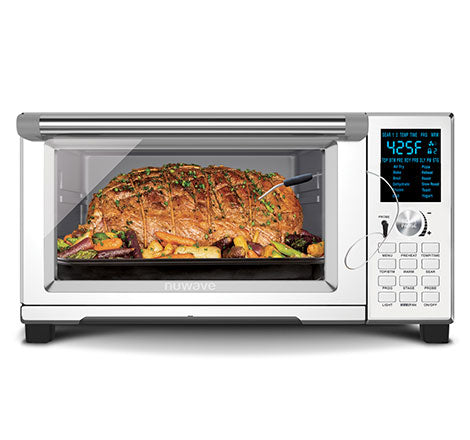
Bravo XL Pro Smart Oven
Bravo Pro Toaster Oven
Primo Grill Oven
Air Fryers
Brio Plus 7QT Air Fryer
Brio Plus 8QT Air Fryer
Brio 6QT Air Fryer
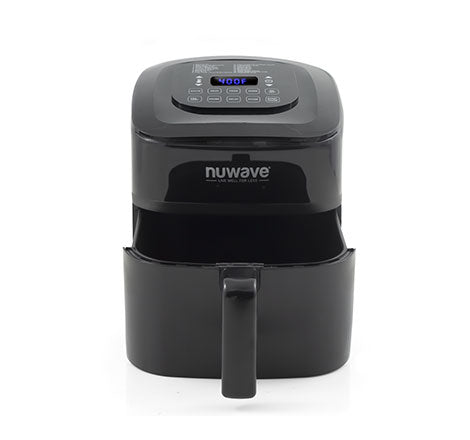
Brio 15.5QT Air Fryer
Duet Pressure Cooker & Air Fryer
Skillets & Grills
Medley XL Digital Skillet
Pro-Smart Grill
Primo Grill Oven
Smart Mug & Blenders
Nuwave Smart Mug
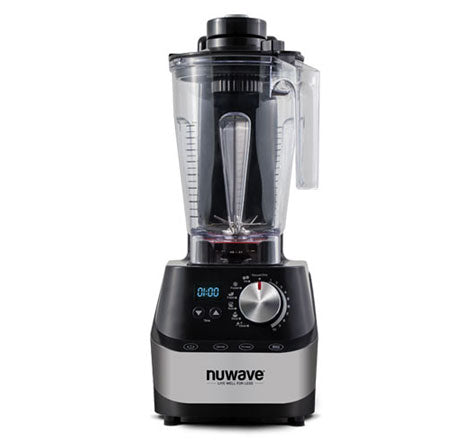
Moxie Vacuum Blender
Infinity Blender
Infinity Pro Plus Blender
On-The-Go Blender
Cooktops
PIC Double Pro
PIC Gold Pro
PIC Flex Pro
PIC Pro Chef
PIC Diamond
PIC Titanium
Mosaic Induction Wok
Duralon Blue Cookware
5-Piece Essential Series Set
3-Piece Set
7-Piece Set
9-Piece Set
12-Piece Set
12-Piece Set (G11)
13-Piece Lux Set
Cookware
Duracore 6QT Dutch Oven
2-Piece Pro-Smart Cookware Set
9-Piece Pro-Smart Cookware Set
Shop All
Air Purifiers
Nuwave Forever
Nuwave Forever Plus
OxyPure HEPA
OxyPure Portable
OxyPure Zero
OxyPure Zero Plus
OxyPure Zero E500
OxyPure
Parts & Accessories
Ovens
Pro Plus 2 Oven
Pro-Smart Oven
Bravo XL & Bravo XL Pro Oven
Bravo & Bravo Pro Oven
Primo Grill Oven
Elite Oven
Pro Plus Oven
Air Fryers
Brio 3 QT Air Fryer
Brio 4.5 QT Air Fryer
Brio 6 QT Air Fryer
Brio 7.25 QT Air Fryer
Brio 8 QT Air Fryer
Brio 15.5 QT Air Fryer
Duet Pressure Cooker & Air Fryer
Pressure Cookers & Grills
Duet Pressure Cooker & Air Fryer
Pro-Smart Grill
Blenders & Coffee Makers
BruHub Coffee Maker
Moxie Blender
Infinity Blender
On-The-Go Blender
Cooktops
PIC Induction Cooktop
Mosaic Induction Wok
Cookware
Duralon Non-stick Cookware
Air Purifiers
Nuwave Forever
Nuwave Forever Plus
OxyPure HEPA
OxyPure Portable
OxyPure Zero
OxyPure Zero Plus
OxyPure Zero E500
OxyPure
General
Recipes
Ovens
Sous Vide Combi Steam Oven
Pro Plus 2 Oven
Pro-Smart Oven
Bravo XL Pro Oven
Bravo XL Pro Oven with Grill
Bravo XL Oven
Bravo Toaster Oven & Air Fryer
Primo Oven
Air Fryers
Brio Air Fryer
Pressure Cookers
Duet Combo Cooker
Nutri-Pot Pressure Cooker
Skillets & Grills
Medley Digital Skillet
Pro-Smart Grill
Blenders
Moxie Blender
Infinity Blender
Cooktops
Precision Induction Cooktop
Mosaic Precision Induction Wok
All Recipes
Support
Contact Us
Check Order Status
Product Registration
Warranty Claims
How-To Videos
FAQ's
Manuals
Nuwave
Search
Login
Cart
0 items
0
New
Cooking Appliances
Air Purifiers
Parts & Accessories
Recipes
Support
Cooking Appliances
Ovens
Air Fryers
Skillets & Grills
Smart Mug & Blenders
Cooktops
Duralon Blue Cookware
Cookware
Shop All
Air Purifiers
Nuwave Forever
Nuwave Forever Plus
OxyPure HEPA
OxyPure Portable
OxyPure Zero
OxyPure Zero Plus
OxyPure Zero E500
OxyPure
Parts & Accessories
Ovens
Air Fryers
Pressure Cookers & Grills
Blenders & Coffee Makers
Cooktops
Cookware
Air Purifiers
General
Recipes
Ovens
Air Fryers
Pressure Cookers
Skillets & Grills
Blenders
Cooktops
All Recipes
Support
Contact Us
Check Order Status
Product Registration
Warranty Claims
How-To Videos
FAQ's
Manuals
Ovens
Sous Vide Combi Steam Oven
Pro Plus 2 Oven
Pro-Smart Oven
Bravo XL Pro Smart Oven
Bravo Pro Toaster Oven
Primo Grill Oven
Air Fryers
Brio Plus 7QT Air Fryer
Brio Plus 8QT Air Fryer
Brio 6QT Air Fryer
Brio 15.5QT Air Fryer
Duet Pressure Cooker & Air Fryer
Skillets & Grills
Medley XL Digital Skillet
Pro-Smart Grill
Primo Grill Oven
Smart Mug & Blenders
Nuwave Smart Mug
Moxie Vacuum Blender
Infinity Blender
Infinity Pro Plus Blender
On-The-Go Blender
Cooktops
PIC Double Pro
PIC Gold Pro
PIC Flex Pro
PIC Pro Chef
PIC Diamond
PIC Titanium
Mosaic Induction Wok
Duralon Blue Cookware
5-Piece Essential Series Set
3-Piece Set
7-Piece Set
9-Piece Set
12-Piece Set
12-Piece Set (G11)
13-Piece Lux Set
Cookware
Duracore 6QT Dutch Oven
2-Piece Pro-Smart Cookware Set
9-Piece Pro-Smart Cookware Set
Ovens
Pro Plus 2 Oven
Pro-Smart Oven
Bravo XL & Bravo XL Pro Oven
Bravo & Bravo Pro Oven
Primo Grill Oven
Elite Oven
Pro Plus Oven
Air Fryers
Brio 3 QT Air Fryer
Brio 4.5 QT Air Fryer
Brio 6 QT Air Fryer
Brio 7.25 QT Air Fryer
Brio 8 QT Air Fryer
Brio 15.5 QT Air Fryer
Duet Pressure Cooker & Air Fryer
Pressure Cookers & Grills
Duet Pressure Cooker & Air Fryer
Pro-Smart Grill
Blenders & Coffee Makers
BruHub Coffee Maker
Moxie Blender
Infinity Blender
On-The-Go Blender
Cooktops
PIC Induction Cooktop
Mosaic Induction Wok
Cookware
Duralon Non-stick Cookware
Air Purifiers
Nuwave Forever
Nuwave Forever Plus
OxyPure HEPA
OxyPure Portable
OxyPure Zero
OxyPure Zero Plus
OxyPure Zero E500
OxyPure
Ovens
Sous Vide Combi Steam Oven
Pro Plus 2 Oven
Pro-Smart Oven
Bravo XL Pro Oven
Bravo XL Pro Oven with Grill
Bravo XL Oven
Bravo Toaster Oven & Air Fryer
Primo Oven
Air Fryers
Brio Air Fryer
Pressure Cookers
Duet Combo Cooker
Nutri-Pot Pressure Cooker
Skillets & Grills
Medley Digital Skillet
Pro-Smart Grill
Blenders
Moxie Blender
Infinity Blender
Cooktops
Precision Induction Cooktop
Mosaic Precision Induction Wok
0
Your cart is empty
Continue shopping
Clear
Close
FAQ
Pro-Smart Grill
Bravo XL Oven
Primo Grill Oven
Brio 6-qt/7.25-qt Air Fryer
Brio 14-qt/15.5-qt Air Fryer
BruHub Coffee Maker
Moxie Vacuum Blender
Infinity Blender
PIC Induction Cooktops
Mosaic Induction Wok
OxyPure Air Purifier
OxyPure Zero Air Purifier
Nuwave Forever Air Purifier
Double click on a word to see the definition.